


How To Install Simple Living Light Clip On Angle Shingles
Hanging holiday lights used to mean a ladder, a staple gun, and a fair amount of luck. That is not the case anymore. Simple Living light clips have changed the way homeowners approach outdoor decorating, and for good reason.
They snap onto shingles without tools, without nails, and without the risk of tearing up your roof. If you have ever wondered how to get that clean, magazine-style light line along your roofline, this guide walks you through the entire process from start to finish.
Why Homeowners Are Switching To Clips
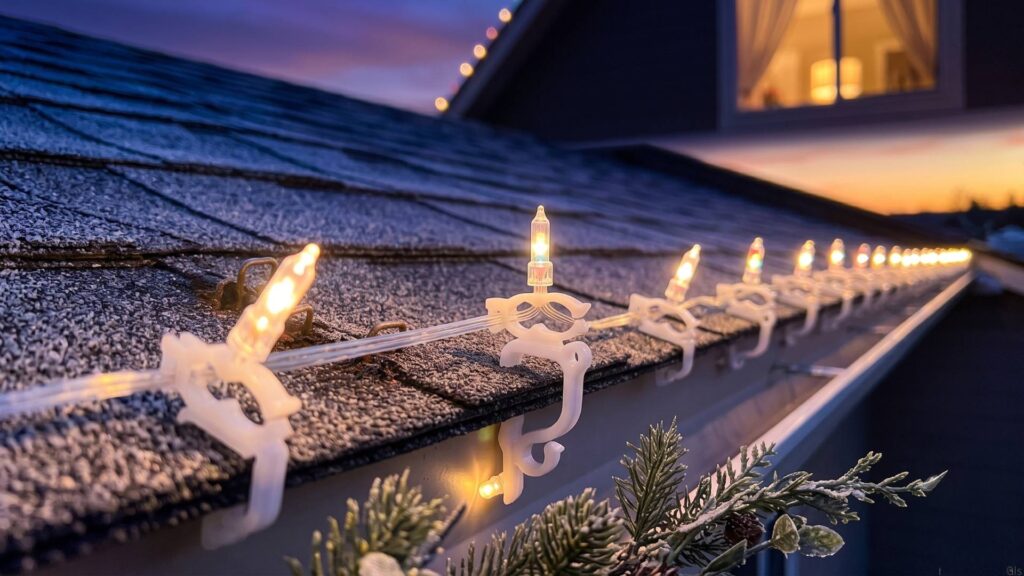
Roof shingles were never built to handle staples or nails, yet for decades that was the standard method for hanging Christmas lights. Traditional Christmas light clips leaned on nails or staples to stay put, and every puncture created a small opening where water could sneak in during the next rainstorm.
Simple Living light clips solve that problem by gripping the edge of the shingle instead of piercing it. The design keeps asphalt shingles fully intact while still giving your lights a stable place to sit. That kind of efficiency lines up nicely with a broader shift toward Simple Living Habits That Save Time and Energy, where the goal is doing more with less effort and fewer wasted materials.
What Are Light Clip On Angle Shingles
These angled clips are small plastic hooks shaped to match the slope where one shingle overlaps the next. The angled design lets the clip sit flush against the roof surface so lights hang evenly instead of drooping or bunching together. Most versions on the market today are made from UV resistant plastic, which means they hold up through sun, snow, and freezing temperatures without turning brittle.
Simple Living light clips work with several light types, from mini bulbs to C6, C7, and C9 strands, along with rope and icicle lights. Most roof light clips sold today handle only a couple of bulb sizes, but this design covers nearly every strand style a homeowner might already own.
Step-by-Step Installation Guide
Before you climb anything, lay out your lights on the ground and check every strand for damage. A cracked bulb or frayed cord is not something you want to discover once you are already on the roof. This whole DIY installation takes about the same effort as untangling a single drawer of cords.
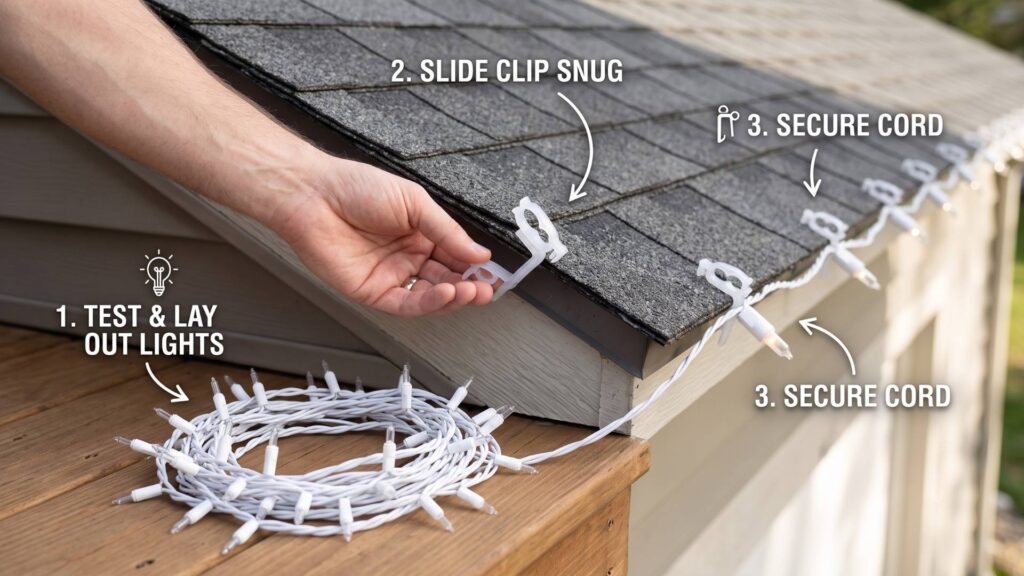
- Start at a corner of the house and work your way across one row of shingles at a time.
- Slide each clip under the shingle edge until it sits snug against the angle.
- Space the clips about every twelve to eighteen inches for even light spacing.
- Press the light cord into the clip slot rather than forcing the bulb itself.
This spacing keeps the light cords from sagging between clips, which is the main reason store-bought displays look uneven within a season or two. Because the slot grips the wire tightly, these light cord clips secure lights firmly even during strong wind, and they rarely need adjusting once the season gets going. Shingle light installation goes faster once you settle into a rhythm, and most homeowners finish an average roofline in about forty five minutes.
For anyone decorating a full house, install lights on roof sections in shorter stretches rather than trying to cover everything in one long run. Shorter runs are easier to manage electrically and they make it simple to swap out a single strand later if a bulb burns out.
3 Best Products Worth Your Time
A good holiday light installation starts with picking the right clip for your roof and bulb type. These three Simple Living light clips sets cover most budgets and most bulb styles, so there is a fit here for nearly any home.
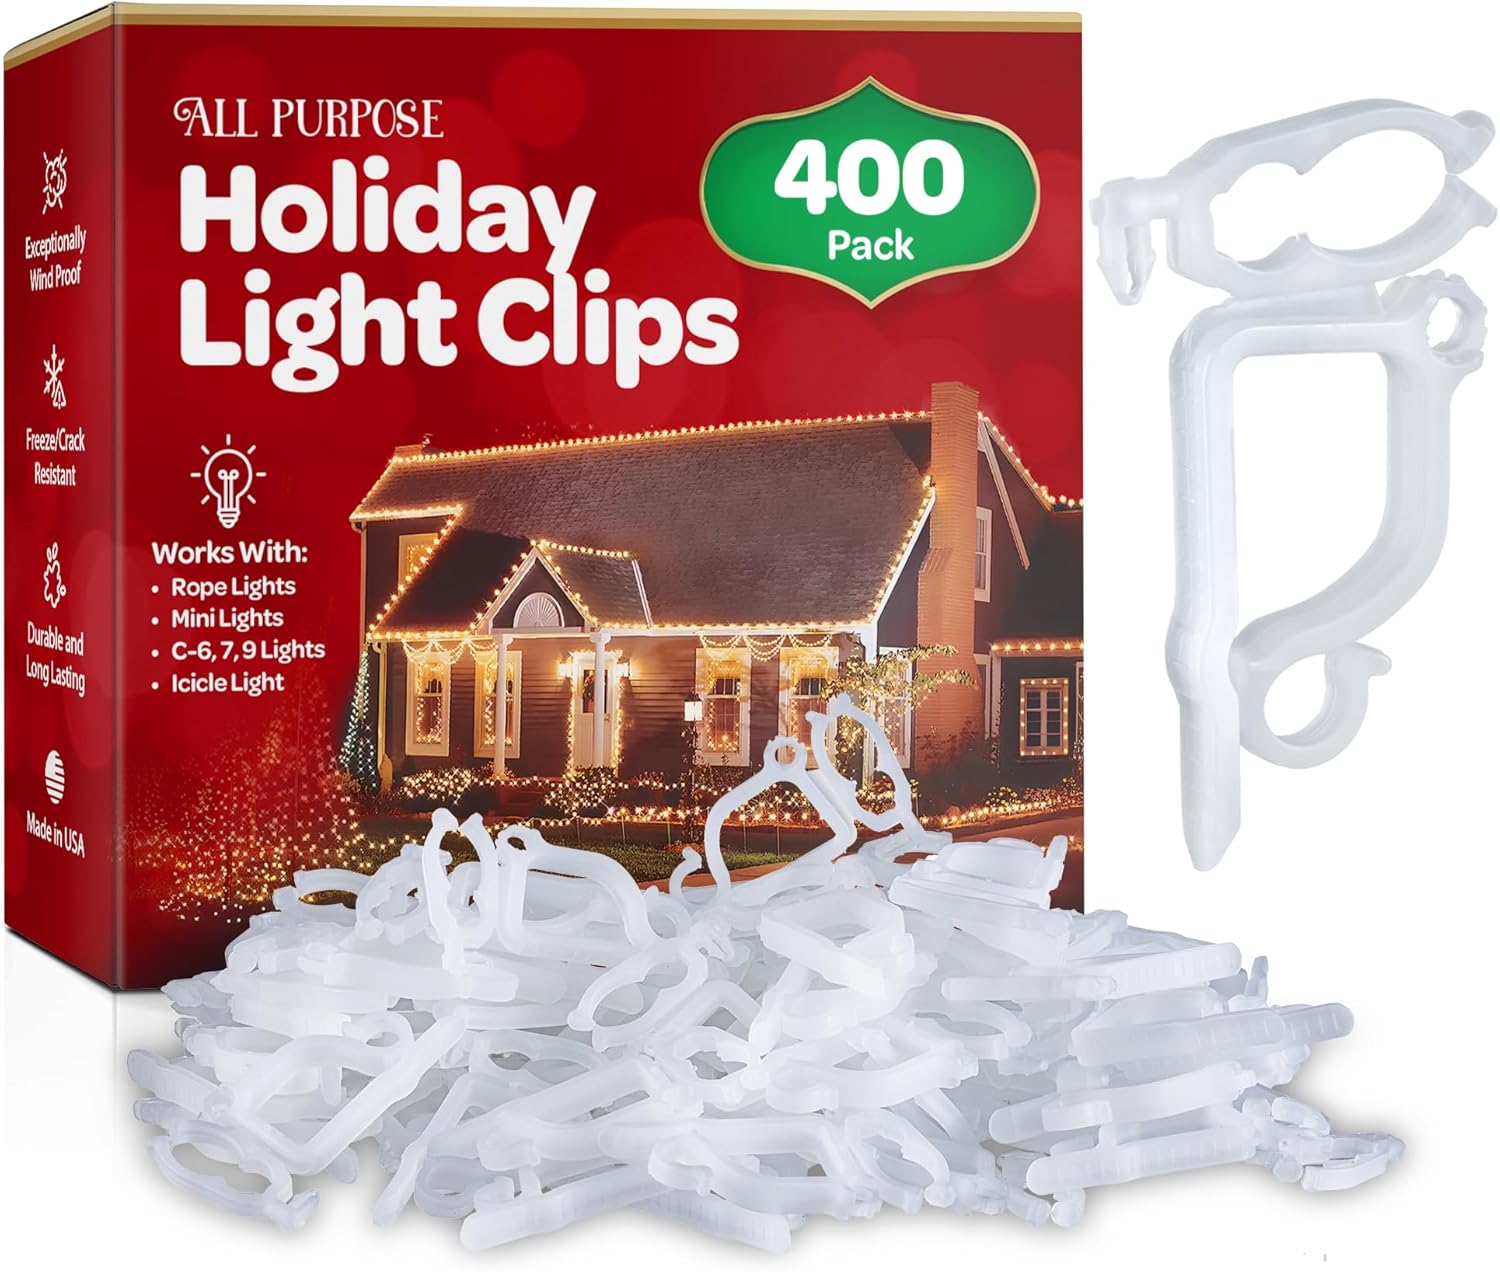
1. SEWANTA All-Purpose Holiday Light Clips – Easy Installation
- 400 no-tool clips that grip shingles or gutters and handle nearly every bulb type you own.
SEWANTA built this set around one simple idea: decorating should not require a toolbox. Each clip snaps onto shingles or gutters in seconds, and the set includes four hundred pieces, which is enough for most two story homes with room to spare.
What stands out is how well the clips handle different bulb types without needing separate hardware. Whether you are running C9 bulbs along the roofline or wrapping rope lights around a porch rail, the same clip does the job. For anyone who wants gutter clips and shingle clips in a single purchase, this is a strong pick.
Specs Overview
- Set of 400 clips made in the USA
- Compatible with mini, C6, C7, C9, rope, and icicle lights
- No tools required for clip installation
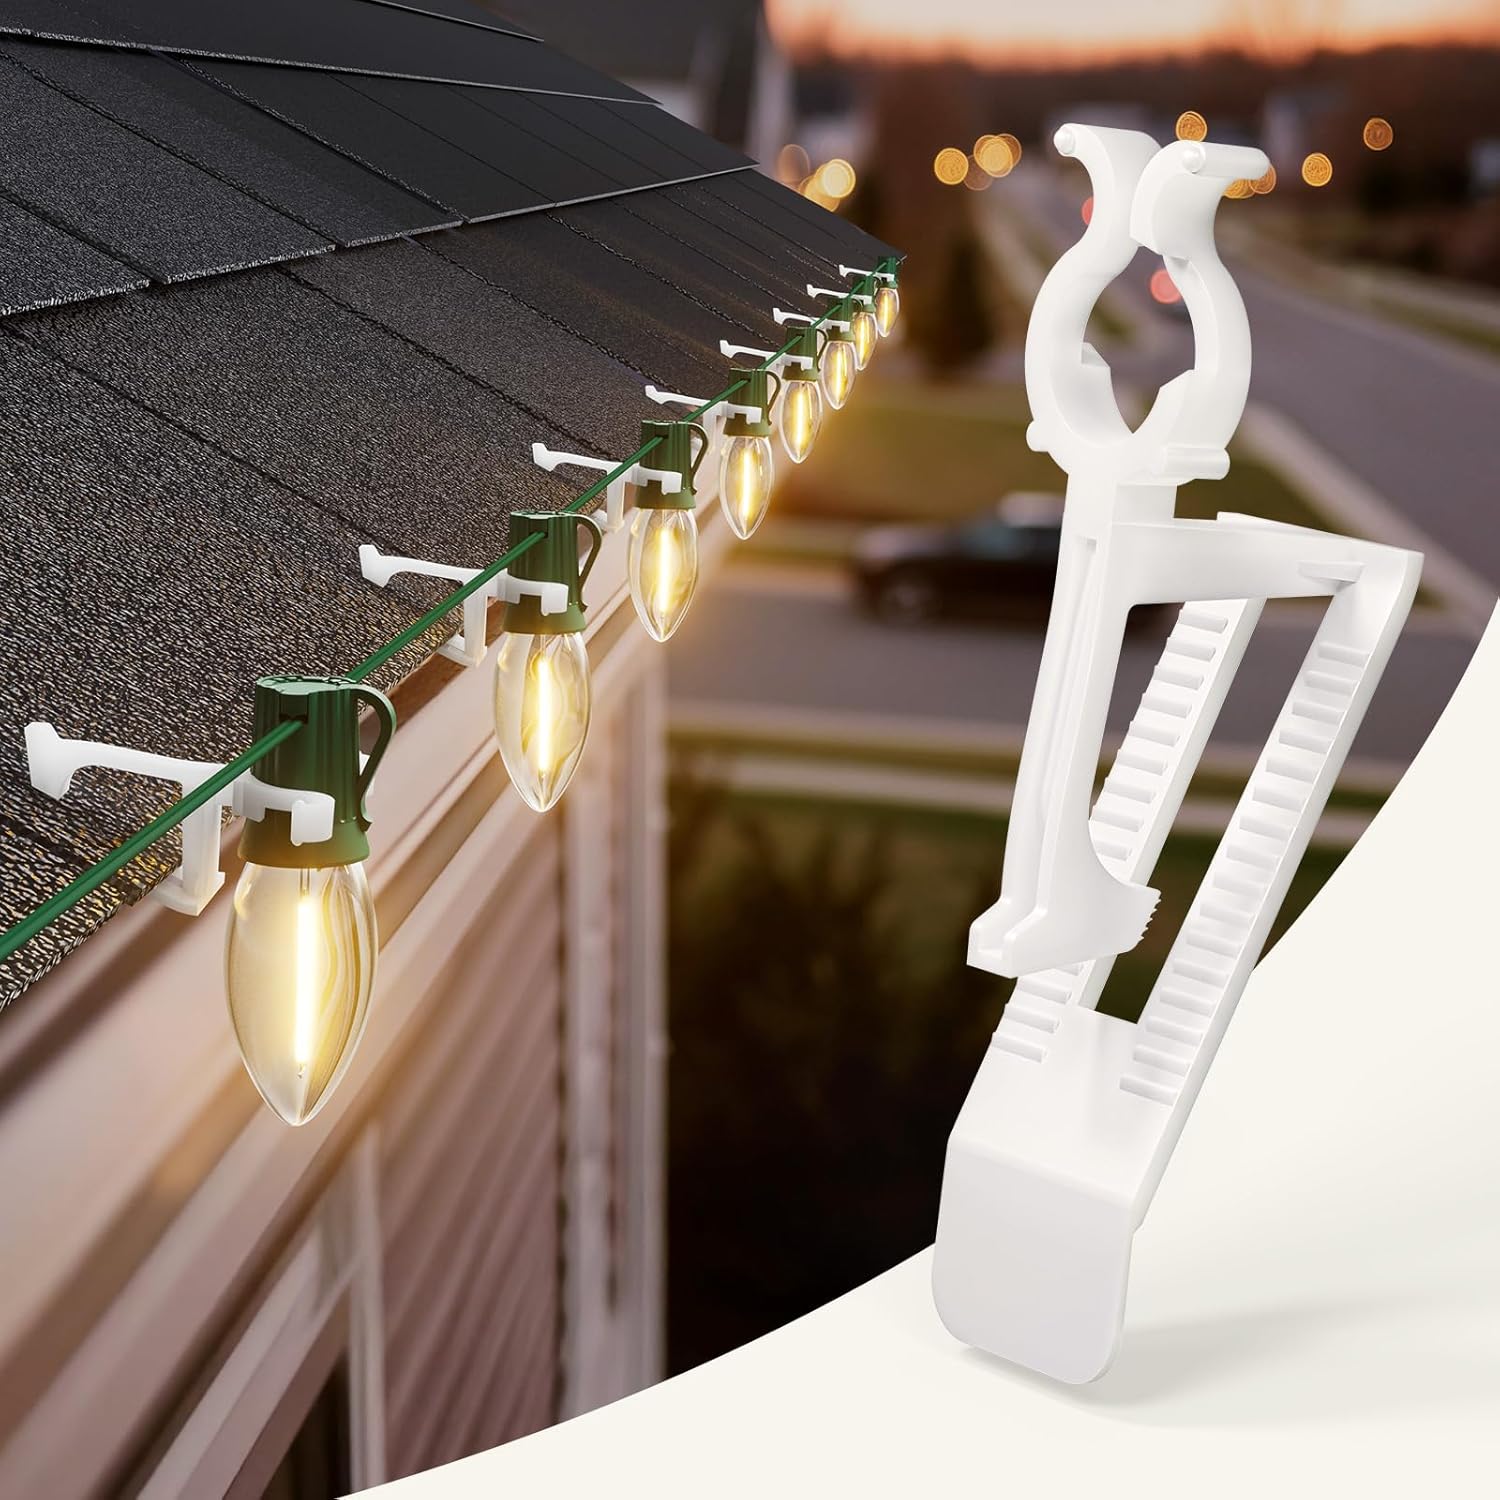
2. Brightown Universal Gutter and Shingle Clip – Weather Resistant
- A tighter, wind-ready 100-pack built for smaller roofs or single accent areas.
Brightown takes a similar approach but trims the pack size down to one hundred clips, which suits a smaller home or a single accent area like a garage roofline. The plastic feels slightly more rigid than average, which helps the clips grip tighter during windy nights.
Setup takes only a few minutes once you get the hang of the angle. Because the clip fits both gutters and shingles, you can mix and match placement depending on your roof style without buying two separate products.
Specs Overview
- Pack of 100 all in one clips
- Works with C7, C9, and mini light strands
- Dual purpose design for gutters and shingles
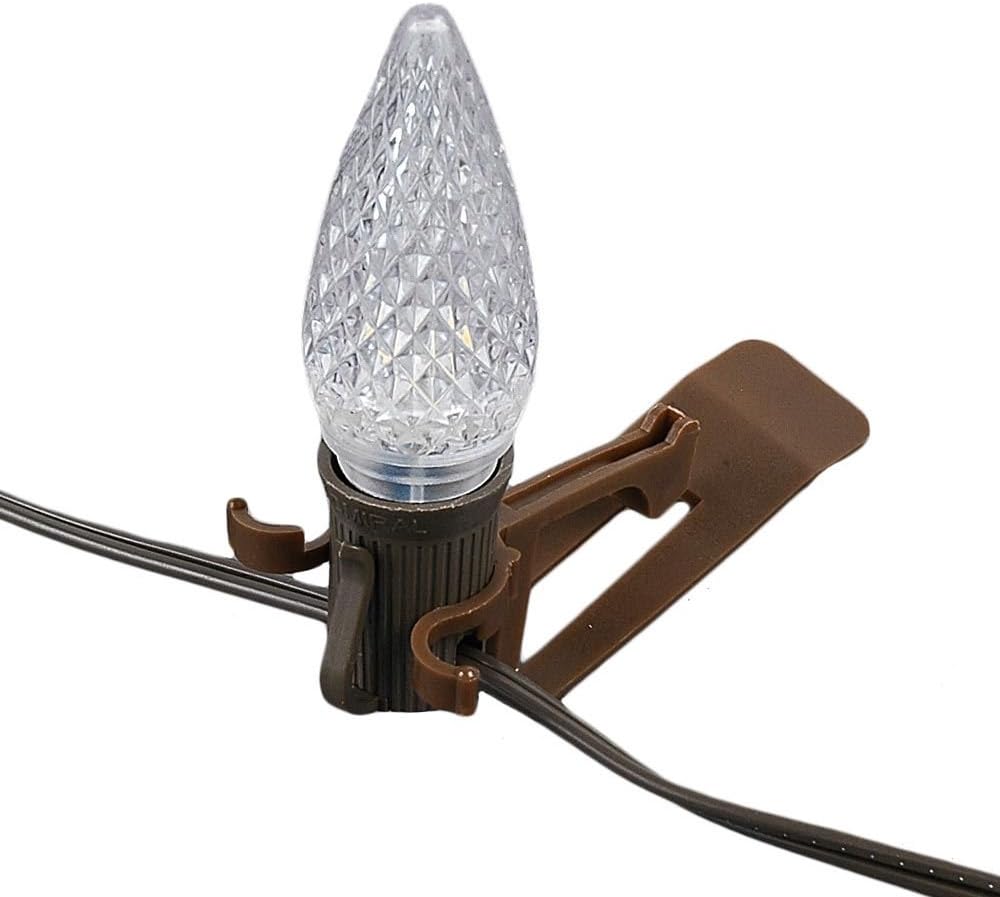
3. Novelty Lights Roof Line Clips – Budget Friendly Pick
- A budget-friendly 25-pack in shingle-blending brown, made for bigger C7 and C9 bulbs.
For smaller projects, a twenty five pack from Novelty Lights covers a single roofline or one section of trim without overspending. The brown color blends into most shingle tones, so the hardware stays out of sight during the day.
These clips are built specifically for C7 and C9 bulbs, which makes them a solid outdoor light clips option for anyone running larger, brighter strands rather than mini lights.
Specs Overview
- Set of 25 clips in brown
- Designed for C7 and C9 roof line lighting
- Fits both shingle and gutter mounting points
Making The Most Of Your Setup
Once the lights are up, take a step back and look at the overall effect your home creates at night. Seasonal lighting works best when it feels intentional rather than thrown together, which ties into the same mindset behind learning to Start Simple Living in a Fast Paced World. A clean, evenly spaced light display takes less effort to maintain and looks better for the entire season.
If your holiday routine has you thinking about the rest of the house too, a few small updates indoors can carry that same calm feeling forward. Pairing your outdoor display with Cozy Bedroom Ideas to Elevate Your Space or choosing from the Best Colors for a Calm and Peaceful Room rounds out a home that feels put together from the porch to the bedroom.
FAQs
Do light clips damage roof shingles?
No. Simple Living light clips are designed to hook onto the shingle edge, so they leave no holes or marks behind.
How many clips do I need per roofline?
Plan for one clip every twelve to eighteen inches, which usually adds up to around fifty clips for an average sized roof.
Can I leave clips on year round?
Yes, most clips are UV resistant and can stay in place through every season without cracking or fading.
Final Thoughts!
Simple Living light clips take the guesswork and the wall damage out of holiday decorating. Once you get the hang of clip installation, a full display goes up in less than an hour and holds up through wind, rain, and repeat use year after year. Pick a set that matches your bulb type, follow safe ladder practices, and your roofline will look sharp from the first night of the season straight through New Year.